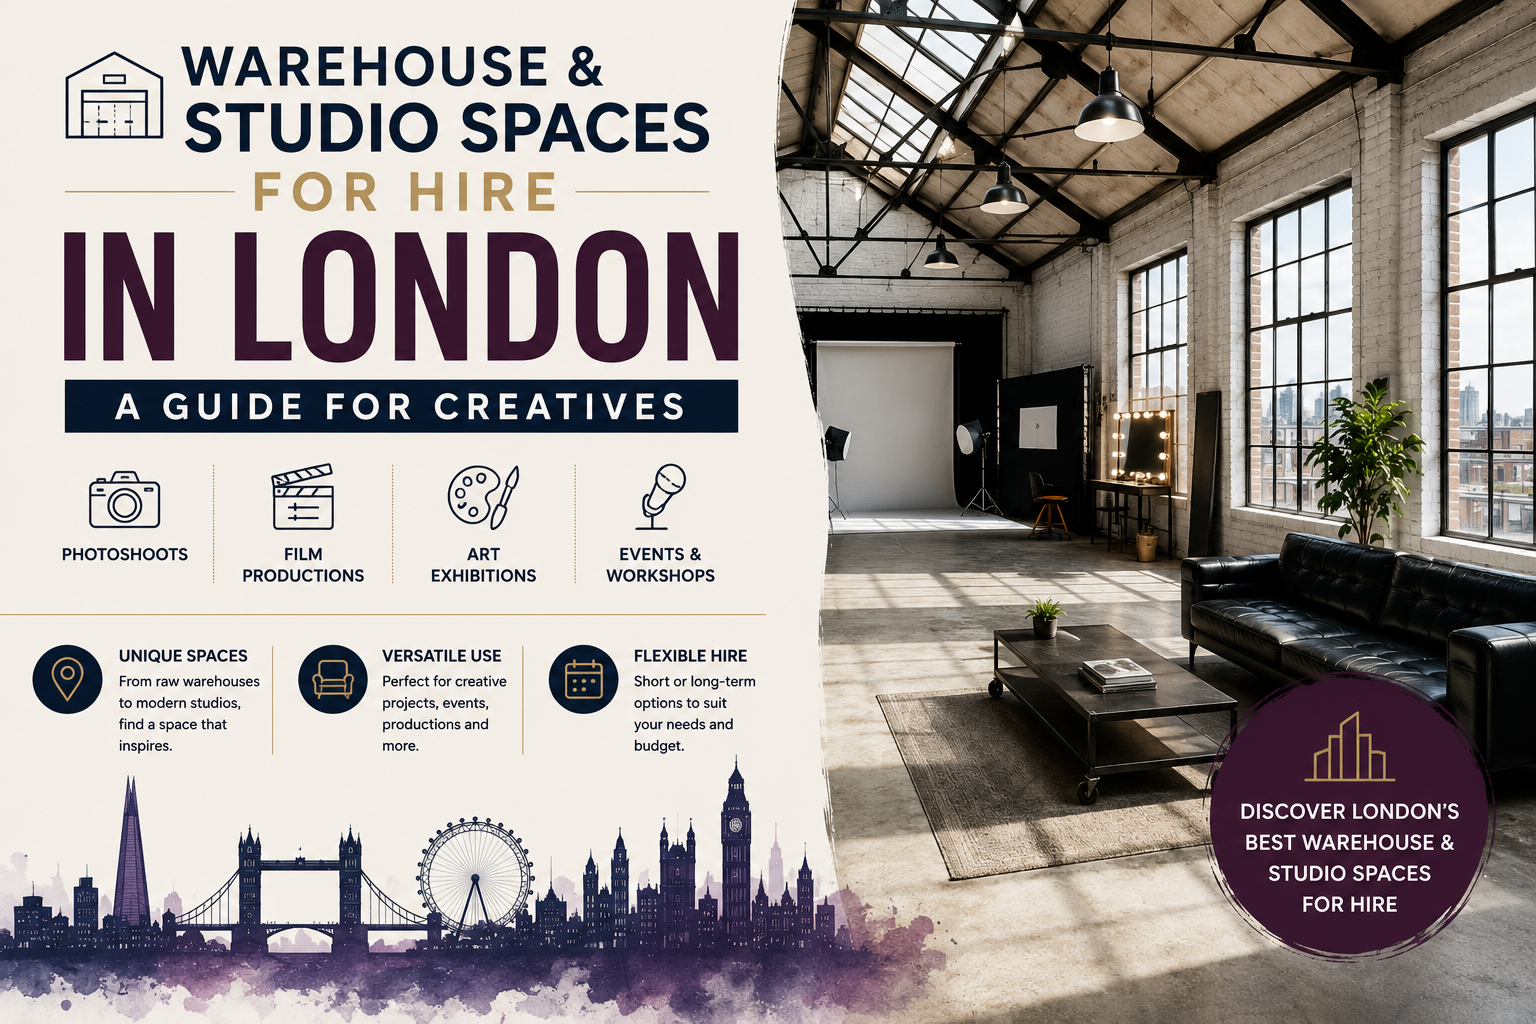
London has many different spaces that can be used for creative work. If you are planning a photoshoot, filming project, art exhibition, workshop or content creation, you may not need a traditional studio. A warehouse or flexible studio space can give you more freedom to set up the room in your own way.
These types of spaces can be useful because they often have open layouts and simple interiors. This gives creatives more room to bring their own ideas and create the setup they need.
Think About What You Need
Before looking for a space, think about the type of project you are working on. A photographer may need good natural light and enough room for equipment. Someone filming a video may need a quiet space with enough room for cameras and lighting. An artist may need an open area where they can work comfortably.
The number of people and amount of equipment also matter. A small project may only need a simple studio, while a larger production may need a bigger warehouse.
Conveenie makes it easier to find creative spaces for hire by allowing you to look at different venues and their available facilities.
Why Choose a Warehouse or Studio?
A warehouse can give you more open space than a normal meeting room. High ceilings, large floors and simple interiors can also make it easier to change the look of the space.
For example, you could use the same room for a photoshoot in the morning and a small workshop later in the day. You may also be able to bring your own furniture, props or equipment, depending on the venue rules.
Some studios can work in a similar way. They may already have useful facilities for filming, photography, meetings or creative activities.
Conveenie's guide on performance-friendly venues in London also shows how flexible spaces can be used for creative work, rehearsals and performances.
Look at the Location
Location is another important part of choosing a creative space.
If you are bringing cameras, lighting, props or other equipment, you may want a venue that is easy to reach by car or public transport. You should also think about where your team and any guests will be travelling from.
You do not always need to look in central London. Some creative spaces in neighbourhoods across London can offer more room and a different atmosphere.
For example, Conveenie lists Rocketvan Studio in Elephant and Castle, a flexible space in a converted steelworks with room for up to 30 people. It can be used for shoots, talks, workshops and smaller creative events.
East London can also be worth considering. Conveenie highlights Shoreditch ARC locations as options for creative projects such as photoshoots and exhibitions, with an industrial feel that can suit this type of work.
Check the Facilities
Every creative project will have different requirements, so check the facilities before booking.
You may need Wi-Fi, lighting, tables, chairs, power sockets or audio-visual equipment. If you are filming, you may also want to check how much background noise there is and whether you can control the lighting.
For exhibitions or pop-up events, you may need enough wall and floor space to display your work.
It is better to check these details before booking rather than assuming that every warehouse or studio will provide the same facilities.
Think About Your Budget
Creative projects can already involve costs for equipment, transport, materials and other services. This makes the cost of the venue important.
You do not always need to hire a specialist studio. A simple warehouse or flexible community space may be enough for your project, depending on what you are creating.
It is useful to compare different spaces and look at what is included in the hire price. A venue that already has tables, chairs, Wi-Fi or other facilities may save you from hiring them separately.
If you are flexible with your booking time, you can also look at Happy Times on Conveenie. Some venues offer lower prices during selected off-peak periods, which may be useful when working with a smaller creative budget. Conveenie also highlights affordability and flexible booking times as ways to find better-value spaces.
Use the Space in Your Own Way
One of the main benefits of hiring a warehouse or studio is the freedom to create your own setup.
You could bring your own backdrop for a photoshoot, arrange tables for a workshop or create a simple area for filming. The same space can look very different depending on how you use it.
Before making changes to the room, however, check with the host about what is allowed. Some venues may have rules about moving furniture, putting things on walls or using certain types of equipment.
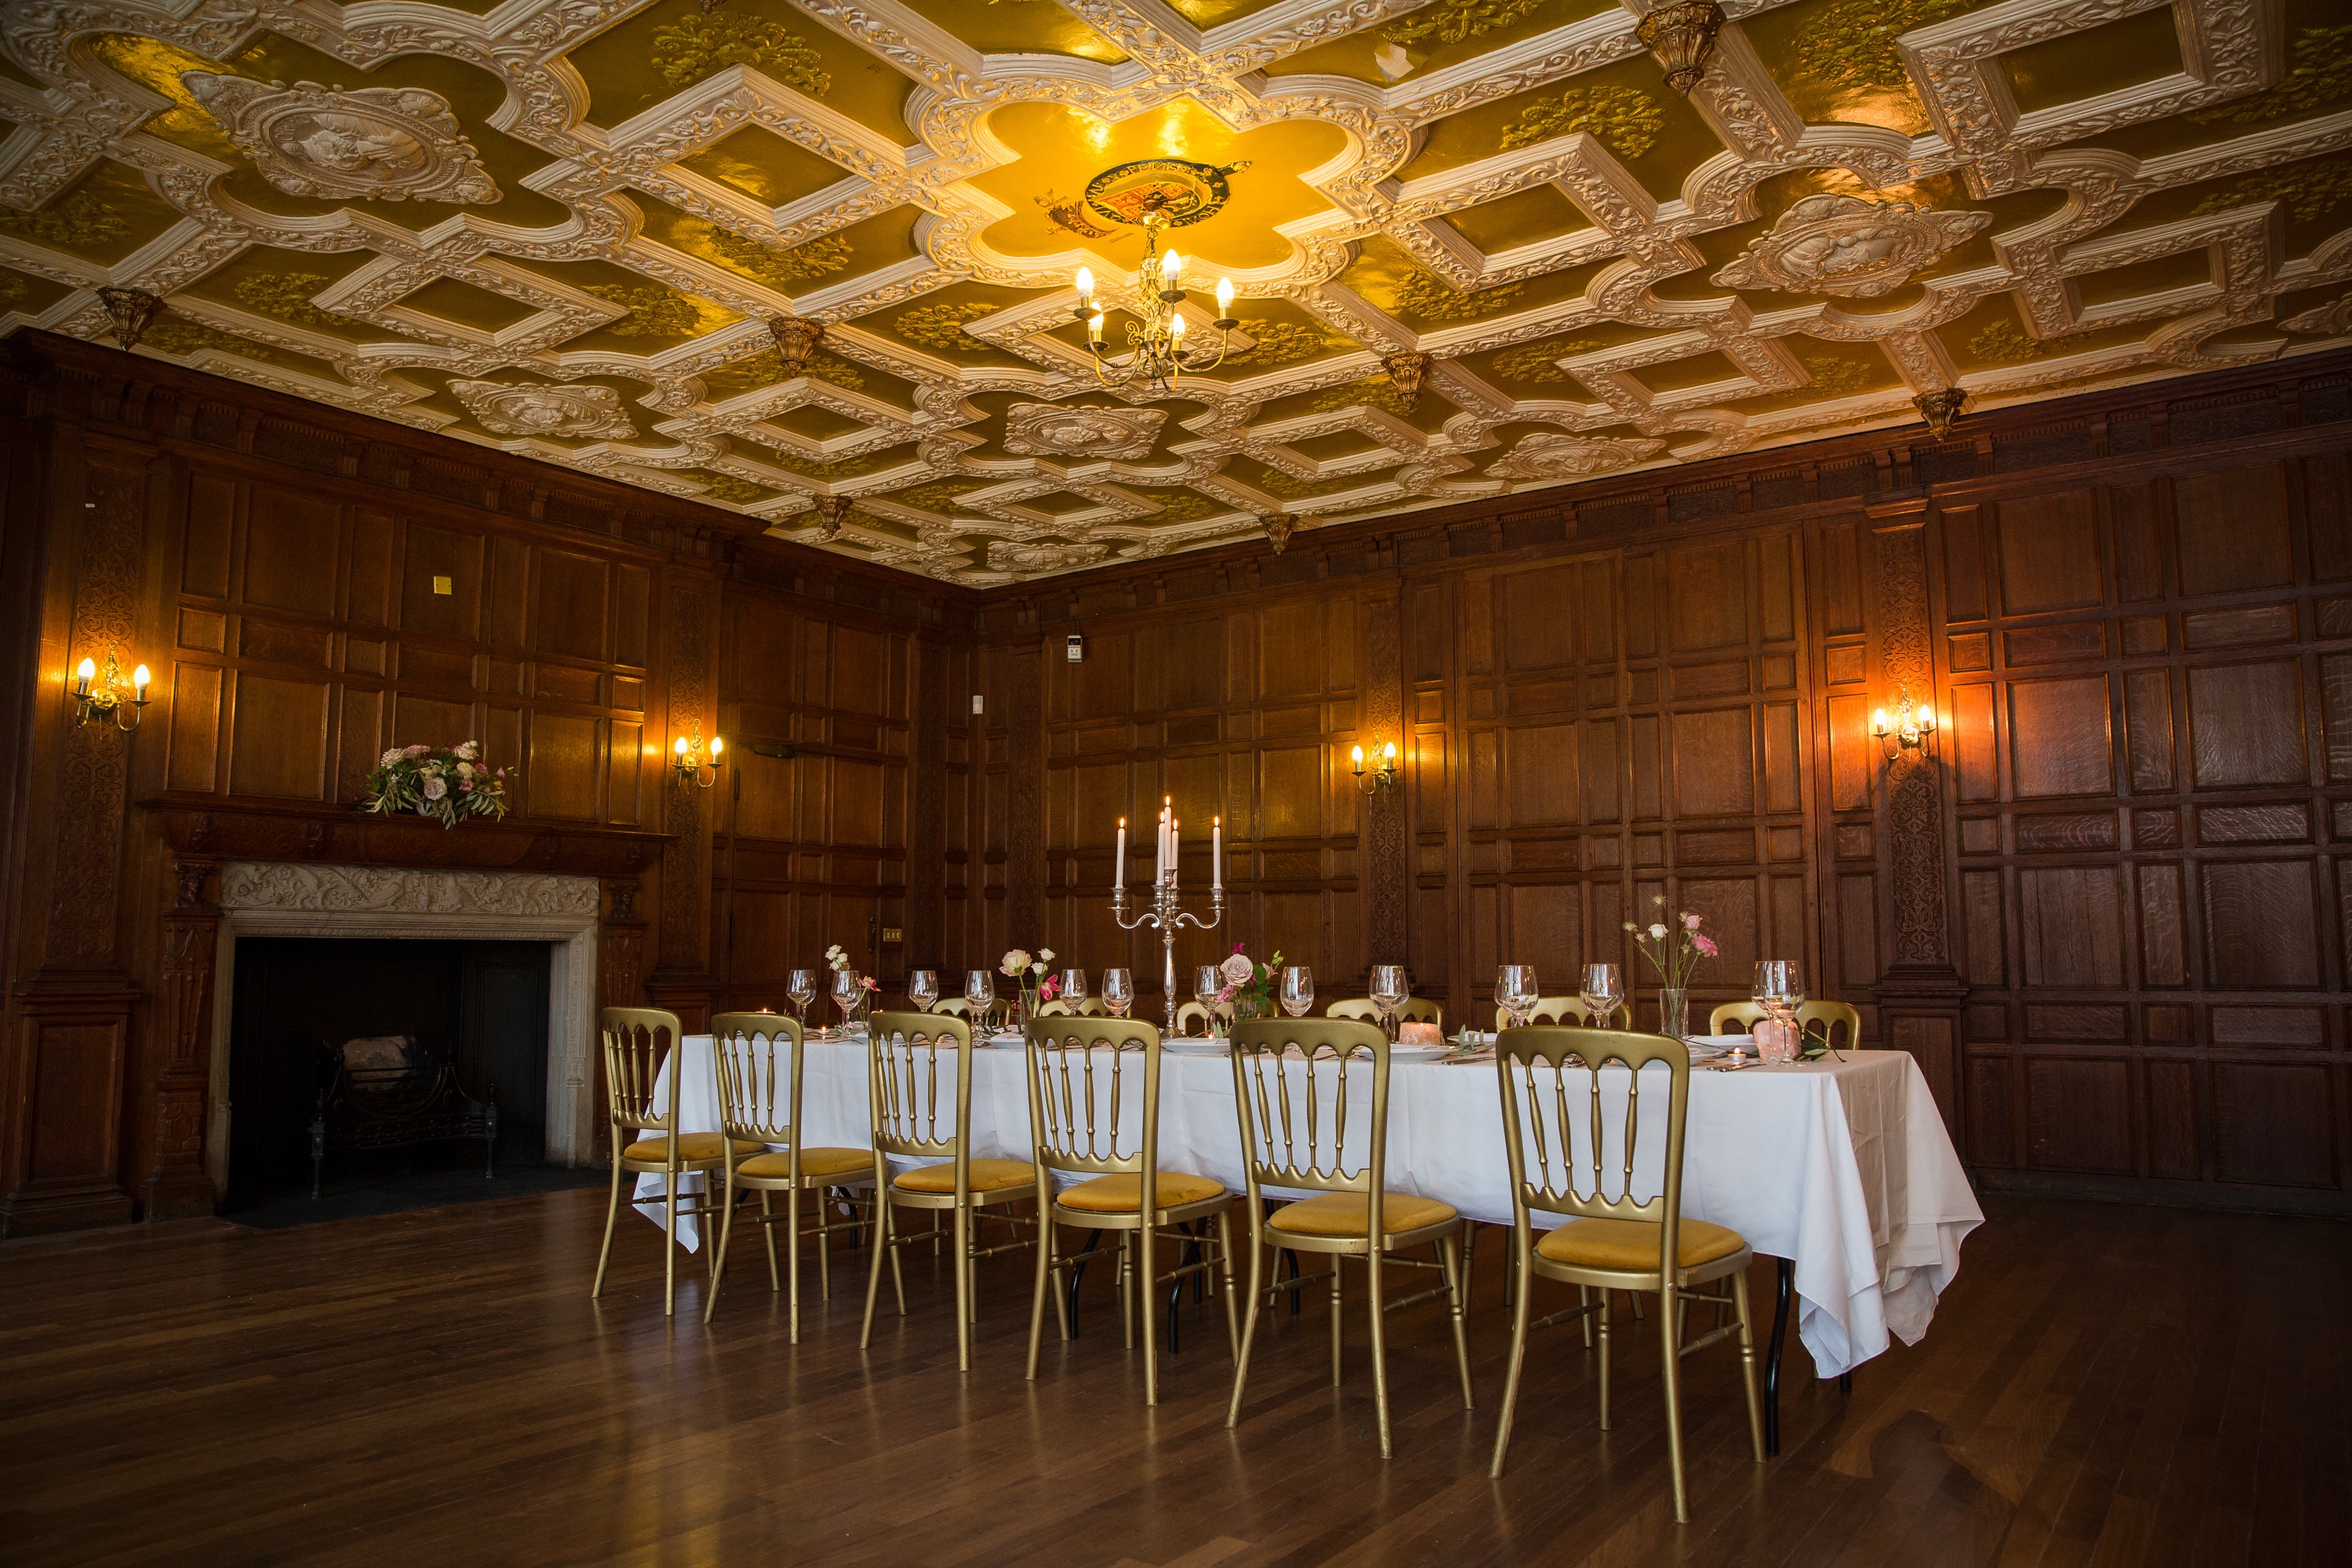
It is also useful to look at the venue photos carefully. This can help you understand the size and layout before you visit. Conveenie recommends using clear photos and showing the full layout of a space so that people can understand how they could use it.
Think Beyond Traditional Studios
You do not always have to search for a space that is specifically called a "studio".
A community hall, warehouse, function room or café can sometimes work for a creative project. For example, Conveenie's guide to affordable and versatile venues in London neighbourhoods includes local spaces with different layouts and styles that can be used for creative projects, workshops and other activities.
The important thing is to look at what the space offers and whether it matches your project.
Finding a warehouse or studio space in London does not have to be difficult. Start by thinking about your project, the number of people involved and the equipment you need.
Then look at the location, size, facilities and price before making your decision. Try to choose a space that gives you enough freedom to create the setup you want.
With Conveenie, you can explore warehouses, studios and other flexible spaces across London and compare different options in one place.
For creatives, the perfect space does not always have to look like a professional studio. Sometimes, a simple warehouse or flexible local venue can give you the space and freedom you need to turn an idea into something real.